
Starfield Anchorpoint Safe: Riddle Guide and Walkthrough
Solve every Anchorpoint Station safe riddle in Starfield, track all clue locations, and unlock the Defunct Safe without missing any rewards.
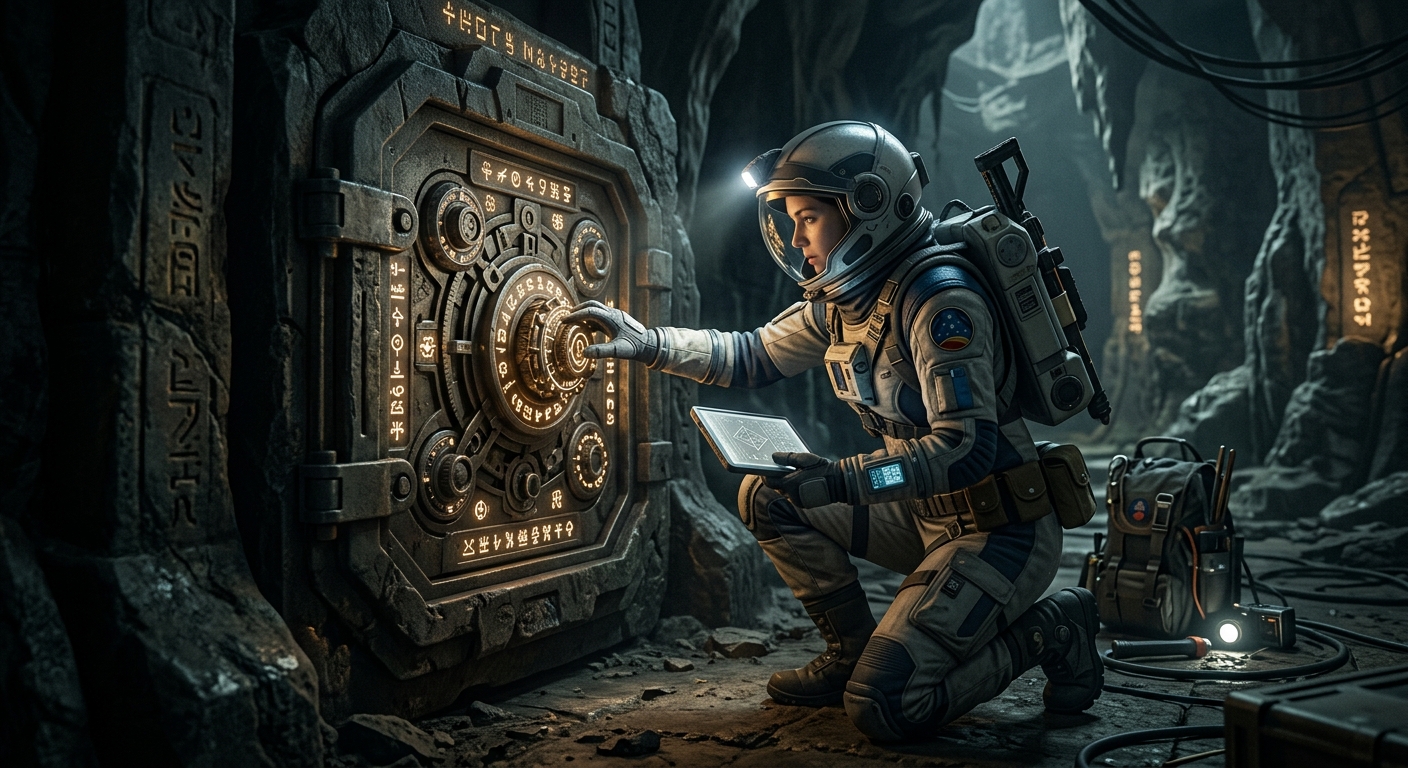
The Anchorpoint Station safe puzzle in Starfield is one of the more inventive side activities added with the Free Lanes / Anchorpoint content. A locked safe wired to a Defunct Computer, five riddling clues scattered across a cramped station, and a mysterious prankster who clearly has too much free time: it’s easy to miss, and even easier to get stuck on. This guide walks you through everything you need to know to complete the puzzle efficiently while still enjoying the scavenger-hunt feel.
This article assumes you already have access to Anchorpoint Station in the Algorab system and want a clear, spoiler‑controlled route to opening the safe. Where possible, directions use memorable landmarks and vendor names so you can orient yourself quickly.
Overview: How the Anchorpoint Safe Puzzle Works
At the heart of the station you’ll find a Defunct Safe connected to a Defunct Computer. Interacting with the computer reveals that the mechanism is locked by a series of riddles. Each riddle points to a physical “clue” object hidden somewhere on Anchorpoint. Insert all five clues into the terminal and you can finally open the safe.
- Number of clues: 5 data slates / objects found around Anchorpoint.
- How to track them: Each clue must be physically picked up and then inserted into the Defunct Computer.
- Difficulty: Navigation-based rather than combat; expect a bit of vertical movement and some light lockpicking.
- Reward: A substantial credit payout and useful loot that makes the detour worthwhile for most characters.
Unlike many quest markers in Starfield, the safe puzzle deliberately avoids holding your hand. The computer gives you riddles, but no quest entries, objective arrows, or environmental markers. That makes Anchorpoint feel more like an old‑school RPG hub where you’re expected to read, interpret, and explore.
Finding Anchorpoint Station and the Defunct Safe
If you’ve just reached the Free Lanes content or returned to the game after a break, you might need a quick reminder on where Anchorpoint sits on the galactic map.
Reaching the Algorab System
Anchorpoint Station orbits within the Algorab system, which lies in the far reaches of the Settled Systems. Bethesda’s official guide describes the game’s main star map structure and how new systems unlock as you improve your grav drive and follow questlines.1 To reach Algorab:
- Open your Starmap from the main menu or in the pilot seat.
- Zoom all the way out until you see regions rather than individual planets.
- Pan to the bottom‑right area of the map; Algorab sits on the fringes beyond many core systems.
- Plot a course through neighboring systems, ensuring your grav drive range is sufficient for each hop.
Once in Algorab, select Anchorpoint Station in the system view, target it as your destination, and approach until you can hail and dock. Bethesda’s own side quest overview highlights how these optional locations expand the game’s role‑playing variety, and Anchorpoint is a prime example of that design philosophy.2
Locating the Safe Inside Anchorpoint
After docking, you’ll exit into the main reception and commercial area. To find the Defunct Safe quickly:
- Look for Darcy Weber’s shop in the central hub corridor.
- Stand facing her counter, then turn 180 degrees so that your back is to the store.
- Follow the corridor directly ahead until you see a small storage room.
- Inside, you’ll find both the Defunct Computer and the Defunct Safe alongside it.
Interact with the computer to see the five riddles. From here on, your workflow is simple: read a riddle, retrieve the related clue, and insert it into the computer before moving to the next one.
Best Practices Before You Start the Puzzle
While you can brute‑force the Anchorpoint safe riddles by wandering around, a bit of preparation makes the process smoother and less frustrating.
Recommended Skills and Tools
| Skill / Tool | Why It Helps |
|---|---|
| Boost Pack Training | A working or broken monitor above the bar requires vertical reach; a jetpack makes it trivial to access elevated brackets and ledges. |
| Security (Novice+) | One clue is locked behind a novice‑level door. Even a single rank in Security speeds up the lockpicking mini‑game. |
| Lockpicks (Digipicks) | You’ll need at least one digipick to get into a private room; bring several in case you make mistakes. |
| High carry capacity | You may end up looting containers, vendors, and nearby workbenches, so a bit of spare cargo room helps. |
General Tips for Reading the Riddles
The computer’s riddles are short but dense, often pairing an emotional phrase with a concrete landmark (trash, machinery, worship, etc.). To solve them without spoilers, keep these principles in mind:
- Emotional cues (misery, ridicule, being ignored) often point to out‑of‑the‑way or forgotten corners of the station.
- Physical nouns (garbage, beasts, chambers) correspond to visible stations: trash piles, engineering bays, bedrooms, and so on.
- Look under and behind objects, not just on flat surfaces. Some clues are tucked beneath crates or taped to ceilings.
- Use height. Anything referencing elevation, spirits, or being “above” is usually a hint to look up or use your boost pack.
Game designers frequently use this style of environmental hinting to push players toward careful observation rather than HUD markers, a technique discussed broadly in level design analysis across modern RPGs.3
Clue 1: By the Dock and the Refuse
The first riddle hints that the clue was hidden before the riddle‑maker ever truly entered the station, with references to their ship and nearby trash. Put simply, you’re meant to return to the spot where you first arrived.
Step‑by‑Step Directions
- From the safe room, retrace your steps back toward the main airlock / docking port where you initially entered Anchorpoint.
- Face the desk where the welcoming attendant usually stands to greet arriving ships.
- Turn to the corridor that dead‑ends nearby; you’ll notice trash containers and plastic buckets stacked against the wall.
- Use the grab interaction (hold A/X or your platform’s equivalent) to manually move the containers.
- Under one of the plastic buckets, you’ll see the first clue. Pick it up.
- Return to the Defunct Computer and choose the prompt to insert Clue 1.
Because this first clue forces you to backtrack to the airlock and deal with discarded refuse, it sets the tone for the rest of the puzzle: the riddler is amused by the idea of hiding things in places most players ignore.
Clue 2: Above the Bar’s Broken Screen
The second riddle emphasizes being suspended above a place of gathering, with a contrast between what still functions and what has failed. On Anchorpoint, that naturally leads you to the communal bar and its pair of monitors.
Finding the Bar
- From the safe, head back into the main ring of Anchorpoint.
- Look for the central bar area, staffed by the bartender (often Valeria Hahn).
- Two large displays hang above the counter: one on and broadcasting, the other dark and broken.
Reaching the Clue
- Stand on the bar counter or nearby rail and activate your boost pack to jet up toward the broken screen.
- Land on the narrow ledge or support bracket behind the malfunctioning monitor.
- On the bracket, locate the glowing data slate: this is Clue 2.
- Grab it and bring it back to the Defunct Computer to insert.
If you don’t have a boost pack unlocked, look for nearby crates or railings you can climb to gain enough height, though this will be clumsier than just using the jetpack.
Clue 3: Lost in Storage and Trash Nets
The third riddle describes being pushed aside, forgotten like garbage, and caught like an insect in a web. This imagery matches a particularly messy storage corridor near some vendors.
Reaching the Storage Area
- From the bar, look for the small corridor situated between the vendors Killian Brice and Darcy Weber.
- The corridor is usually marked with “Storage” signage and has plastic flaps instead of a solid door.
- Head inside; you’ll see scattered trash and bins immediately.
Finding the Clue in the Ceiling Net
- As you enter, look up at the ceiling: you’ll notice two cargo nets hanging overhead.
- Focus on the net that is further back from the entrance; this one holds the clue.
- The third clue lies resting inside the net, glowing slightly.
- Jump or use your boost pack if needed to position your cursor over the clue, then pick it up.
- Return to the safe room and insert Clue 3 into the Defunct Computer.
The placement here rewards players who instinctively look up in cluttered environments, a habit that solves many environmental puzzles across modern RPGs and immersive sims.3
Clue 4: Engineering and the Pull-Up Bar
The fourth riddle references a “home of the beast and their maker” and hints at lifting oneself up from misery. The “beasts” are machinery; the “maker” is the engineer. That points toward the Engineering Bay, a noisy area filled with industrial equipment.
Navigating to the Engineering Bay
- Start from the bar again; it’s the most central landmark.
- Head past the crew quarters, keeping an eye out for signs leading downstairs to Engineering.
- Descend the stairs into a large bay with generators, workbenches, and utility gear.
Spotting the Pull-Up Bar and Clue
- Make your way toward the rear wall of the Engineering Bay.
- Look for an Industrial Workbench; it stands near the center of the back area.
- Beside it is a pull‑up bar, a small piece of exercise equipment for the crew.
- Glance upward toward the ceiling directly above the bar. The fourth clue is literally taped to the ceiling.
- Use your boost pack or jump to reach interaction range, then pick up Clue 4.
- Return to the Defunct Computer and insert it as usual.
By now, a pattern should be clear: the riddler loves hiding clues in places where vertical thinking—climbing, jumping, jetpacking—pays off.
Clue 5: A Private Room in the Operations Center
The final riddle alludes to divine chambers, inner sanctums, and ridicule. The implication is that the clue lies in the private quarters of someone who holds power and prestige on Anchorpoint—its leader.
Finding the Operations Center
- From the bar, look for the stairs leading to the upper level above the common area.
- Follow the walkway around to the Operations Center, where the station’s leadership and key staff conduct business.
- Inside, you should spot Rishi Saint, the station’s leader, often working at his desk.
Entering Rishi Saint’s Bedroom
Rishi’s private quarters sit just off the Operations Center:
- Locate the locked door near Rishi—this leads to his room.
- It is a novice‑level lock, so you’ll need at least one digipick and basic Security skill.
- Make a quick save if you’re wary of being caught or wasting digipicks.
- Complete the lockpicking mini‑game to open the door.
Finding the Final Clue
- Inside, you’ll see a relatively luxurious bedroom compared with the rest of the station.
- Look at the bed and the nightstand on its right side.
- In the narrow gap between the bed and nightstand lies Clue 5, tucked away as if its owner could barely stand to look at it.
- Pick up the clue and return to the Defunct Computer.
- Insert the fifth clue; all five slots should now be filled.
With the last riddle solved, your mysterious prankster has nothing left to dangle over you. It’s finally time to open the safe.
Opening the Defunct Safe and Claiming Your Reward
Once all five clues are loaded into the terminal, the Defunct Computer will update to show that the safe’s security sequence is complete. At this point, you can trigger the mechanism to unlock the physical safe.
Final Steps
- Interact with the Defunct Computer one more time.
- Confirm that each clue is registered; you should see all five listed.
- Use the option to disengage the locks on the Defunct Safe.
- Turn to the safe next to the computer and interact with it to open.
- Loot everything inside—credits, items, and any unique rewards you find.
The exact inventory can vary depending on your level and game state, but players typically report a generous sum of credits and useful gear, making the time spent on the riddles a solid return on investment for most builds. Bethesda has frequently emphasized in developer interviews that such optional rewards are meant to encourage exploration and curiosity rather than pure quest‑marker following.4
Efficiency Tips and Route Planning
If you want to complete the puzzle as quickly as possible, it’s worth minimizing backtracking. Here’s a suggested optimal route after you first discover the safe:
- Activate the Defunct Computer to read all riddles once.
- Clue 1: Go back to the docking port and clear the trash to find the first clue. Insert it immediately.
- Clue 2: Walk straight from the safe toward the bar; jetpack up to the broken screen, grab the clue, and return to insert.
- Clue 3: From the bar, cut through the corridor between vendors into Storage and retrieve the clue from the ceiling net. Insert it.
- Clue 4: From the bar, head to the Engineering Bay, grab the clue above the pull‑up bar, and return to the safe room. Insert it.
- Clue 5: Go upstairs to the Operations Center, pick Rishi’s door lock, take the final clue from beside the bed, and come back to the computer. Insert it and unlock the safe.
Running the clues in this order keeps your routes relatively short and ensures you always have a clear landmark to navigate from (usually the bar or the vendors). If you prefer to role‑play and solve the riddles blind, you can still use this section later to double‑check any location you’ve missed.
Frequently Asked Questions
Do I need a specific quest to start the Anchorpoint safe puzzle?
No. The safe and Defunct Computer are part of a standalone station activity. As long as you can dock at Anchorpoint Station in the Algorab system, you can walk straight to the storage room near Darcy Weber’s shop and interact with the terminal at any time.
Can I permanently miss any of the clues?
No. All five clues remain on Anchorpoint permanently once the station is available. You can complete the puzzle at your own pace; there are no timed stages or missable states tied to main quest progress.
What if I don’t have a boost pack yet?
You can theoretically access the elevated clues by carefully jumping off nearby railings or stacked objects, but it’s much easier with a boost pack. Since Starfield requires the Boost Pack Training skill to use jetpacks at full potential, it’s worth investing at least one skill point here before tackling the puzzle, especially because vertical exploration is common across many locations in the game.1
Will breaking into Rishi’s quarters upset the station?
Lockpicking in Starfield can anger NPCs if they see you. For the safest experience, quick‑save before you start and wait for any bystanders to look away. If you trigger a warning or fine, you can reload or pay off the debt later. As long as you’re careful, you can usually slip into the room without provoking combat.
Is the reward worth the time?
For characters who are short on credits or still building out their gear, the safe is usually worth the effort—especially because you’ll pass several vendors and workbenches along the way. If you’re already extremely wealthy and over‑geared, the main benefit becomes the sense of completion and the narrative flavor the riddler adds to Anchorpoint.
References
- Starfield – Skills — Bethesda Game Studios. 2023-09-06. https://bethesda.net/en/game/starfield/features
- Sidetracked in Starfield – Side Quest Guide — Bethesda Softworks. 2023-09-14. https://bethesda.net/en/article/ZFC9VlDVnR83w55lR1Xhz/starfield-side-quest-guide
- Level Design in Role-Playing Games — Game Developer (formerly Gamasutra). 2020-07-21. https://www.gamedeveloper.com/design
- Starfield: Bringing Your Adventures to Life – Developer Commentary — Bethesda Game Studios / Xbox. 2023-08-16. https://www.youtube.com/watch?v=kfYEiTdsyas
Similar Articles







Read full bio of medha deb